
 Follow the build here!
 Jotting/Blotting paper 50%with water
 Soak strips thru
 Paint on with brush
 When dry cut off ends
 Starting 2 look like a glider


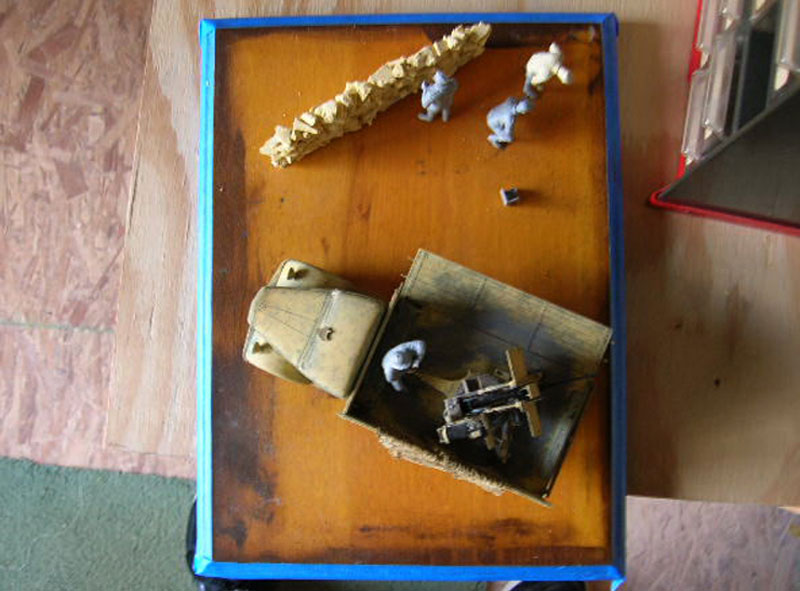
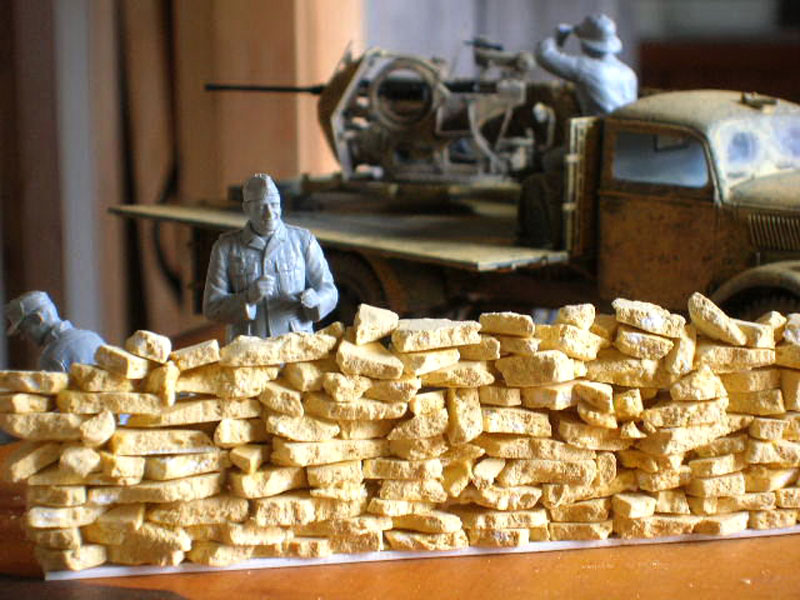
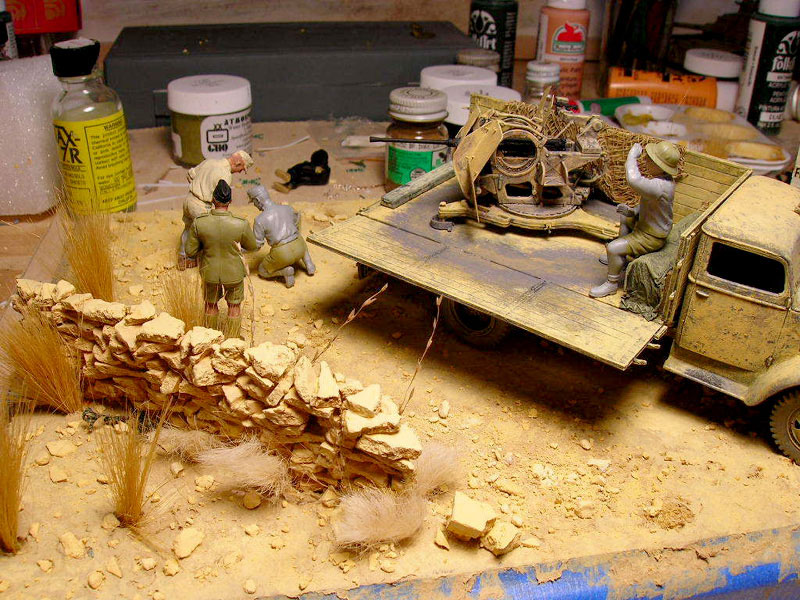
Easy Stone Walls
Pre-mixed drywall paste, craft type acrylic paint and a mold made from a cat litter pail lid can make anyone an expert "Stone Mason" in any scale. Step 1
Mix water based acrylic paint with the drywall paste. Step 2
Spread it out evenly onto your "casting surface" (Mold). Here I have used the lid from a pail of cat litter as my mold. This is where you determine the thickness of your stone. I wanted flat, semi-thin rocks, so I went about 2 -3 mm's thick on the spread. Let dry for at least 12 hours. Step 3
Once dry, it can be broken into whatever size stone you require (this is why this process works so well in any scale). Step 4
I used a piece of scrap sheet styrene as a base to ease assembly and facilitate any detail painting, drybrushing, etc.. I used Crazy Glue (CA) in assembly but I'm sure that you're favorite brand will do as well. Step 5
The assembly was attached to the base upon its completion.
 to this
 to this


 Click for larger view

Look what I found! Making Scale Canvas and Tarps
|
For years I have made my own scale model canvas and tarps from facial tissues. Toilet paper usually proves too porous in appearance for most scales and does not hold up as well as facial tissue when wet. You will need scissors, facial tissue, white glue (I use Elmers), a soft paint brush and a small container of water.
Begin by cutting the facial tissue into the desired shape and size fitting it as required. Once you are satisfied with the shape and size, place it in the desired location. Mixing a small amount of white glue and water together (50/50 mix), apply the mixture gently to the tissue taking care to retain the proper positioning. Only mix as much as you will need for one coat at a time and as I said, apply gently.
I use an inexpensive, soft, 'crafts-type' paintbrush to apply the glue/water mix but as I said before - BE CAREFUL! The facial tissue will tear once wet.
During the initial "Coating" be sure to keep the tissue in the desired location, gently fitting it, folding it and otherwise setting it in it's permanent place.
Once completely dry (normally takes about 10 minutes), apply another light coat of fresh mix, then when that coat is dry, apply a third and final coat.
I usually mix the second and third coats a little "Stiffer", instead of a 50/50 glue-water mix I generally go 60-65% glue / 40-35% water. Once the last coat was dry on this M-41, I did a "Pre-fit" the PE items before permanently attaching them.
Allow the "Canvas" to completely cure overnight before painting and be extra cautious if using "Washes" to weather or shade the piece. If not completely cured, your "Canvas" will re-hydrate and rip if you are not careful! The canvas mantlet cover on this M-41 is now ready for some Khaki paint followed by weathering and shading.
Below is a finished, painted,weathered and shaded tarp on a 1/35 scale SdKfz.250/1.


 Still needs some work
 Maps, Newspapers reduced to size
 Letters, Books, Photos, Labels etc reduced and ready for 35th scale
 Labels for cans or boxes reduced to size and printed in color
 Coke, cigarettes etc cartons ready for assemble
 A local Tea called Rooibos is the ideal item to use as kindle, dried sticks etc!


